
Player wiki
Getting started
There is no tutorial to sit through. You turn the crank, a number goes up, and everything else opens as you go. Here is what happens in the first ten minutes, and what to do with it.
The controls, all of them
- The crank is the power supply. Forward makes energy. Speed matters more than effort — see The crank.
- Crank backwards and you make nothing at all. You open the vent instead: 14 cooling per second at reference speed. It is not a mistake, it is a tool.
- A acts on the selected thing: buy it, take it, confirm it.
- B goes back — and on several screens it walks through the sub-views instead (charts, order book, the office).
- Left and right change tab. Everywhere. That never changes, in any act.
- Blow into the microphone during an overheat: 1 second of recovery per second. It only does something while you are actually overheating.
- Dock the crank while the factory is running and it recovers 6 per second. Putting the crank away is a legal move, not a pause.
The first ten minutes
- Turn. Anything above 30 machine rpm counts as turning. Watch the zone name change as you speed up.
- Buy the first machine. AUTO-CRANK I costs 60 and makes 2 e/s on its own. That is the moment the game starts playing without you.
- Keep buying. Each copy of a machine costs ×1.22 more than the last, so the interesting purchase is usually the next machine, not the tenth copy of this one.
- The market opens at 100 lifetime energy, and the lab at 2.00K. Neither needs anything from you but time spent turning.
The dial: three lanes, always 100
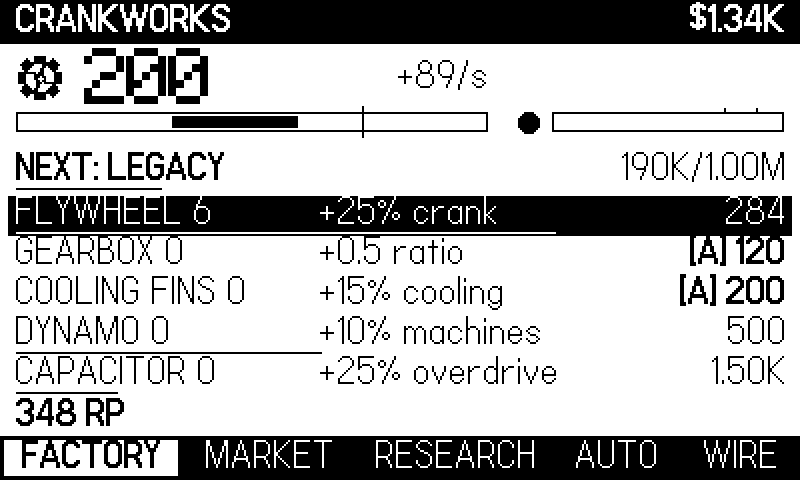
Everything your machines make goes down three lanes, and the three always add up to 100. You start at 70 / 20 / 10.
| lane | what it does |
|---|---|
| KEEP | The energy piles up in the battery. This is what pays for upgrades and machines. |
| SELL | The energy leaves at the price you posted. Whatever nobody buys falls back into KEEP — nothing is ever destroyed. |
| LAB | The energy becomes research points. Slow, and the only way to open the tree. |
The lab lane is the one players under-use. It costs 25 energy per research point, which feels expensive early and is the only thing that opens the tree.
Reading the screen
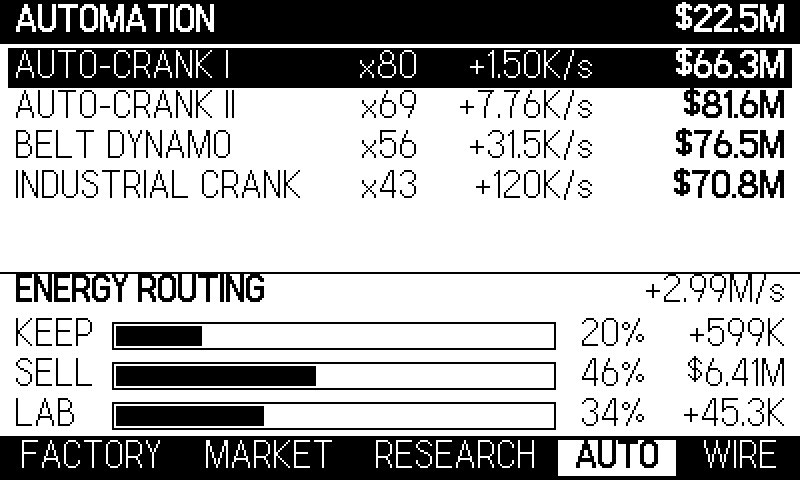
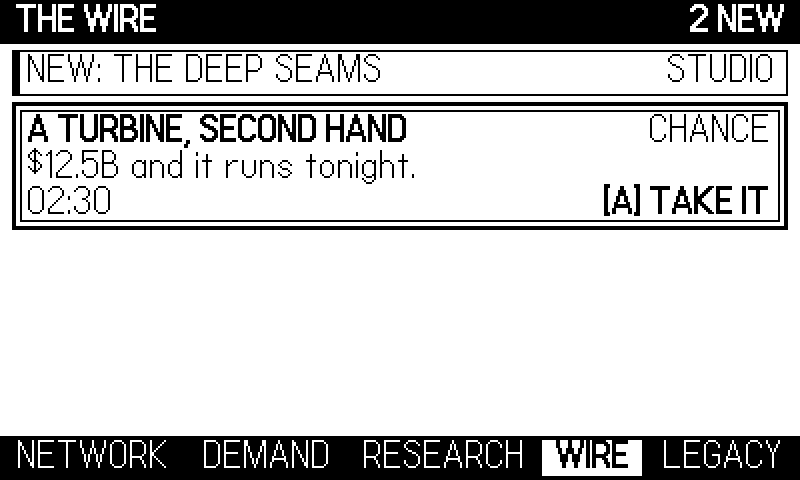
The top bar is always the same shape: the thing you are counting on the left, your money on the right. When you change act, that counter changes unit — that is the strongest signal the game has, and it is deliberate. Under it sits the objective line: what the game thinks you should reach next, with the progress. It is a suggestion, not a quest. THE WIRE is the game's one communication channel. A new dispatch lands every 45 seconds or so, and there are three kinds: the world talking about your numbers, offers you can take before they expire, and the occasional word from the studio. Offers linger about 20 seconds — the wire is worth opening.
What to actually do first
- Do not chase the top speed. The PERFECT zone pays ×1.5 and never burns. DANGER pays ×3.2 and cooks you in 6.3 seconds.
- Hold the band, do not just visit it. Whole turns completed inside PERFECT chain up: at full streak your hand pays ×2.2 instead of ×1.5, and the band itself widens while it holds.
- Buy GEARBOX early. Each level adds 0.5 to the gear ratio, which means the same hand speed lands in a better zone.
- Put something in the lab. Even 10 % changes the pace of the whole run.
- Close the game without guilt. The factory runs offline for 6 hours at 35 % efficiency from the very first minute, and both numbers go up a lot later.